Healthy Homemade Gummies. Only Three Ingredients!
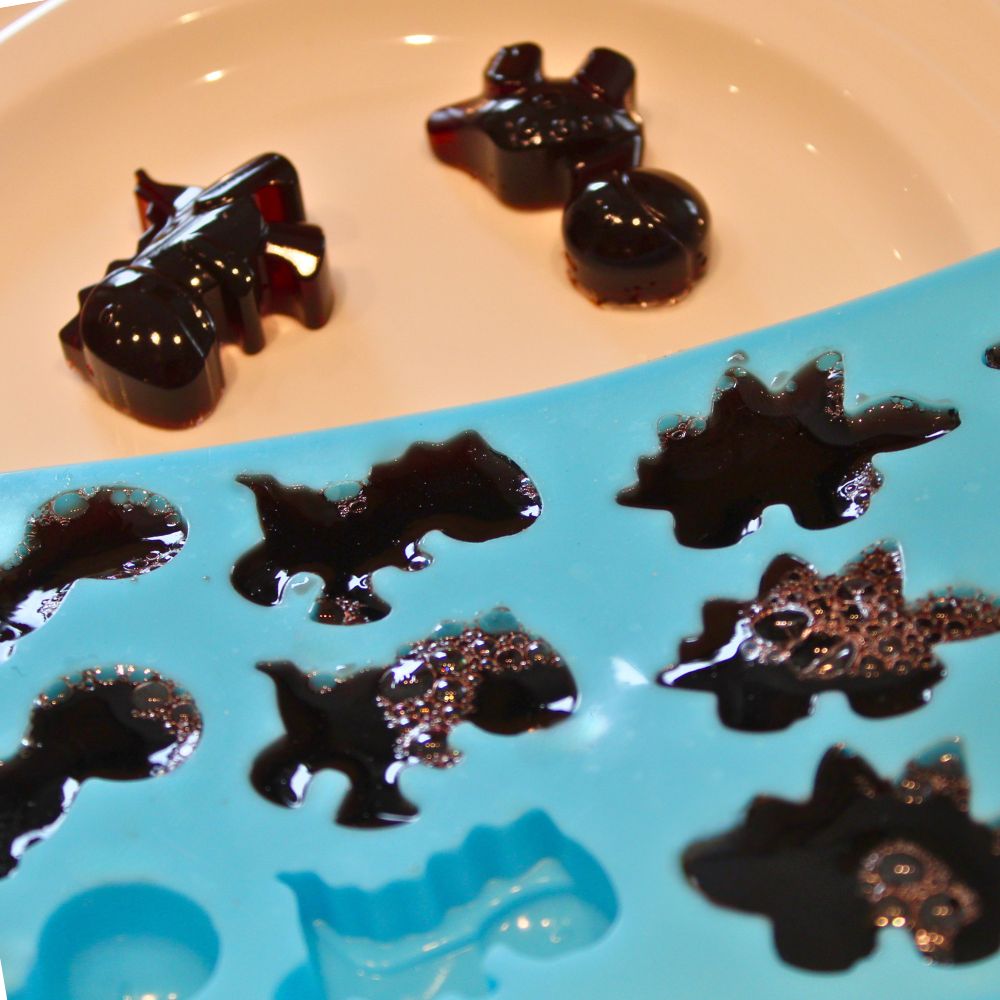
This easy homemade gummies recipe uses simple ingredients to whip up a nourishing tasty treat for the whole family. This basic recipe allows you to make your own gummy bears, providing a healthier alternative to store-bought options that often contain artificial flavors and additives. By using real fruit juice and grass-fed gelatin, you’ll enjoy a healthier option that not only satisfies your sweet tooth but also supports overall health and wellness.
Check out more of our Kid-approved snack recipes here!
Why You’ll Love Healthy Homemade Gummies!
If you’re looking for something to satisfy your sweet tooth without impacting your health, then this homemade gummies recipe is perfect for you! Unlike their store-bought counterparts, these healthy gummy bears are free of corn syrup, artificial flavors, and citric acid. Instead, they’re made with wholesome ingredients like blueberry juice and beef gelatin, providing a healthier alternative to traditional gummies. Not only are they delicious and fun to eat, but they’re also packed with nutrients and collagen, making them the perfect way to indulge.
Ingredients
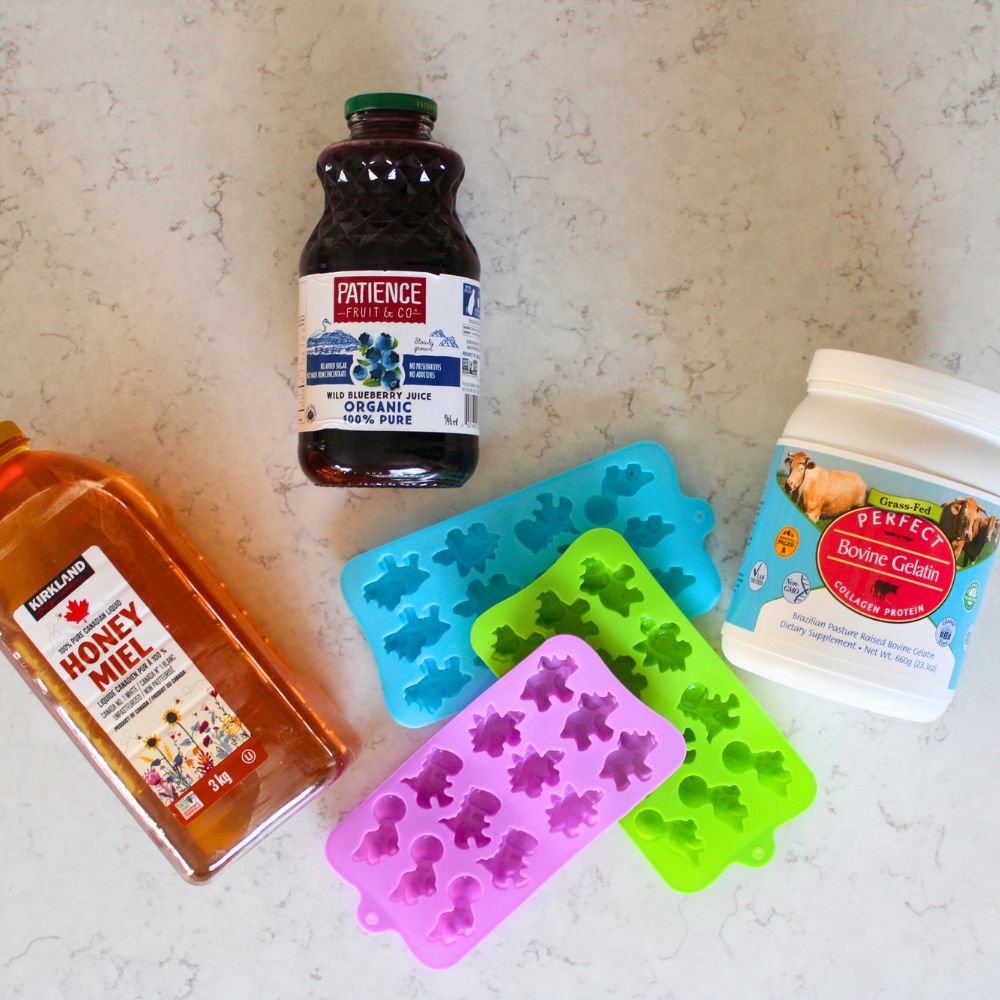
- blueberry juice
- unflavored gelatin powder (preferably grass fed)
- honey
- coconut oil for greasing your glass dish
See recipe card for quantities.
Instructions
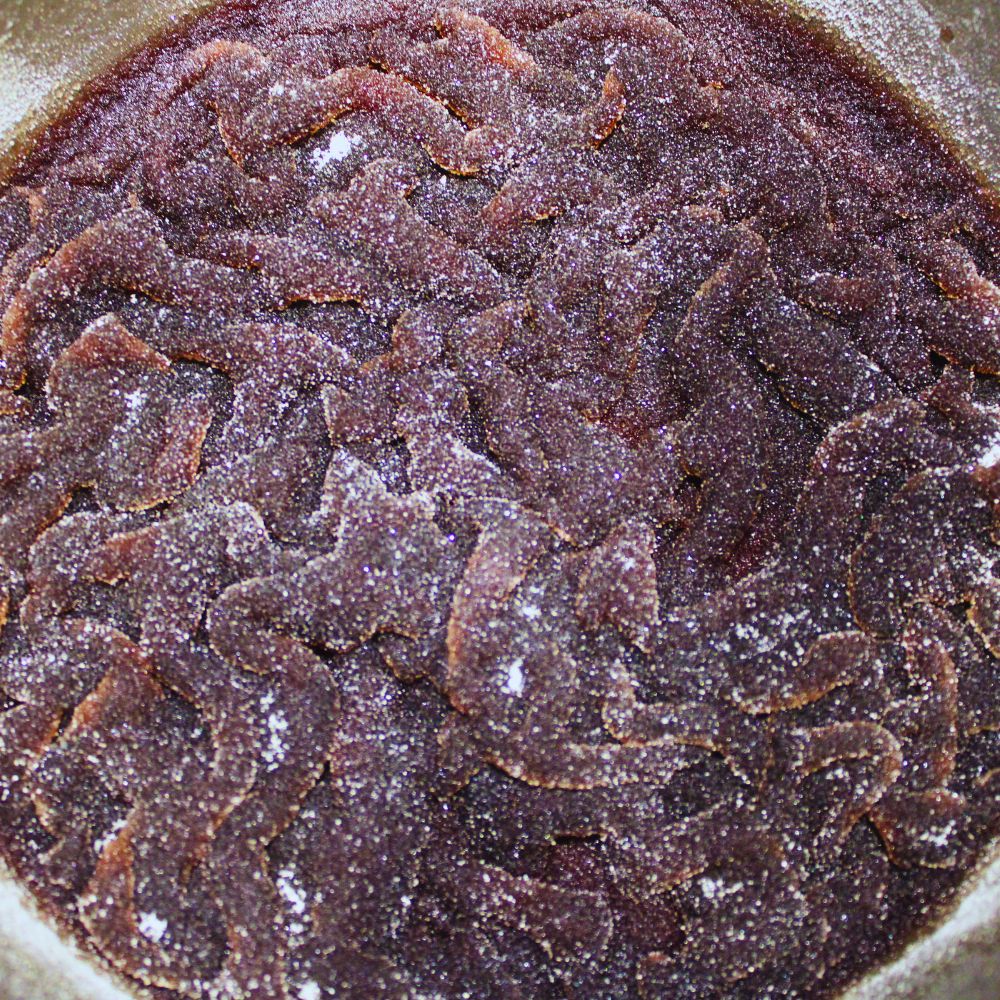
Step 1: Pour 2 cups of blueberry juice into a small saucepan. Lightly sprinkle 6 tablespoons of gelatin in an even layer over the juice. This will help prevent clumping.
Allow the gelatin to sit undisturbed for 5 minutes. This is referred to as bloomed gelatin.
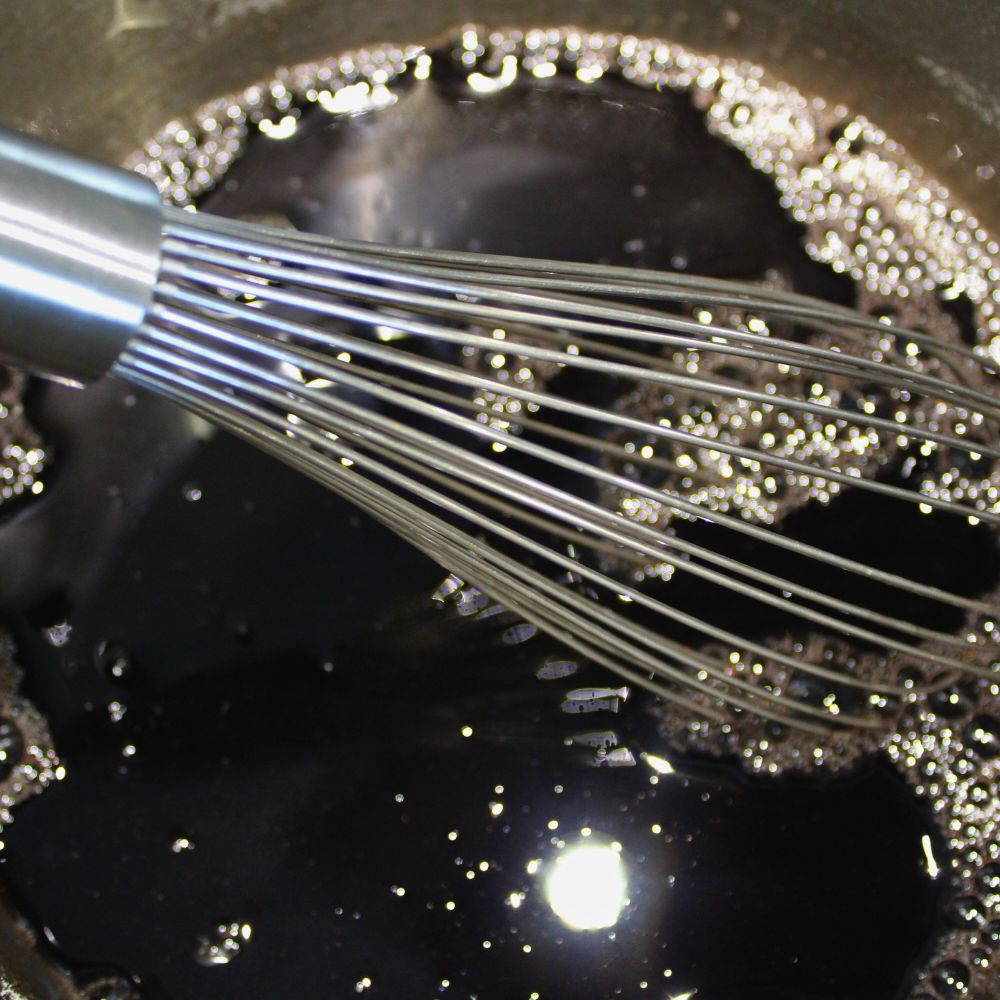
Step 2: After 5 minutes turn the burner on and set it to medium heat, whisking constantly until gelatin is fully dissolved.
Once the gelatin has fully dissolved, add 2 tablespoons of honey to the mixture and stir well. Adjust the sweetness to taste if needed, but remember that the gummies will taste less sweet once they set.
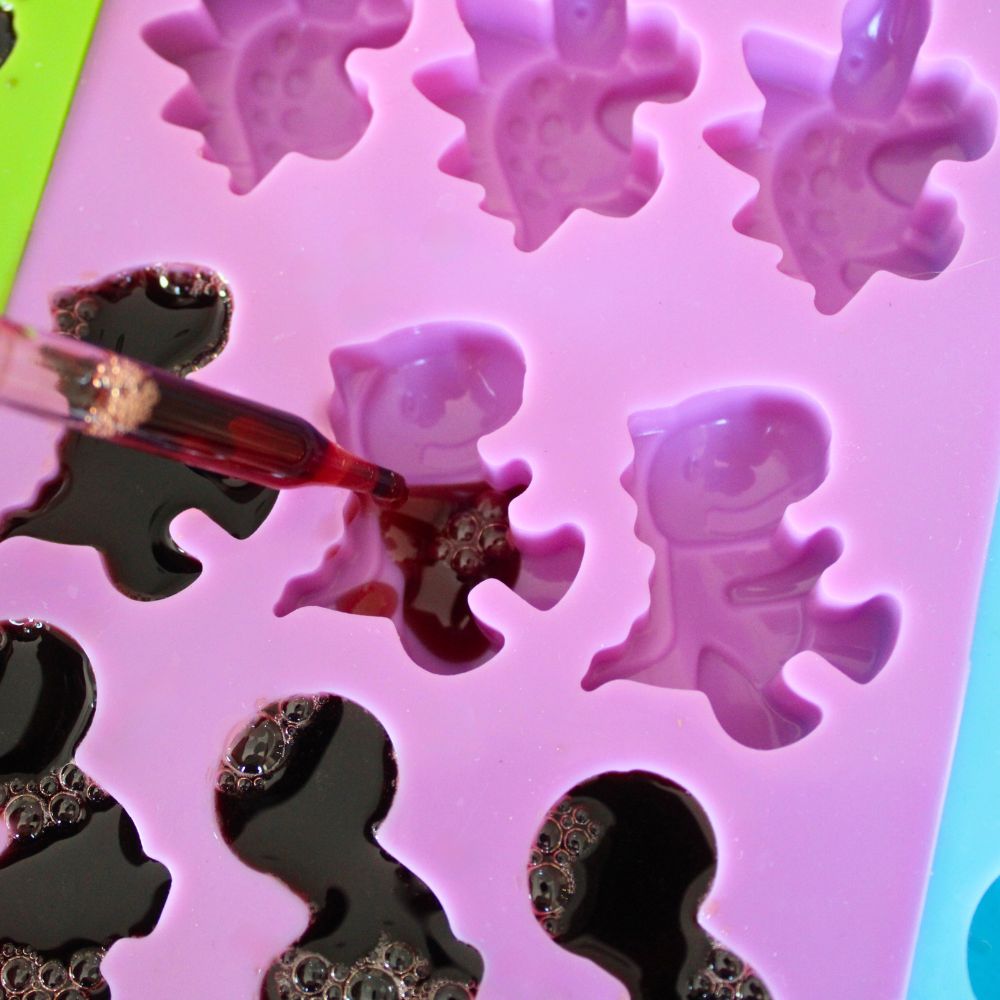
Step 3: Remove saucepan from heat and allow mixture to cool slightly for a minute or two. Using a glass dropper or turkey baster, transfer your mixture into into silicone molds or grease a glass dish with coconut oil and pour mixture into the dish. If using a glass dish, you can cut the gummies into squares once they have set.
*The glass dropper method is a bit tedious, but less messy than a turkey baster. If I’m going for speed over precision I use a turkey baster or skip the silicone molds altogether and pour my mixture into a greased dish.
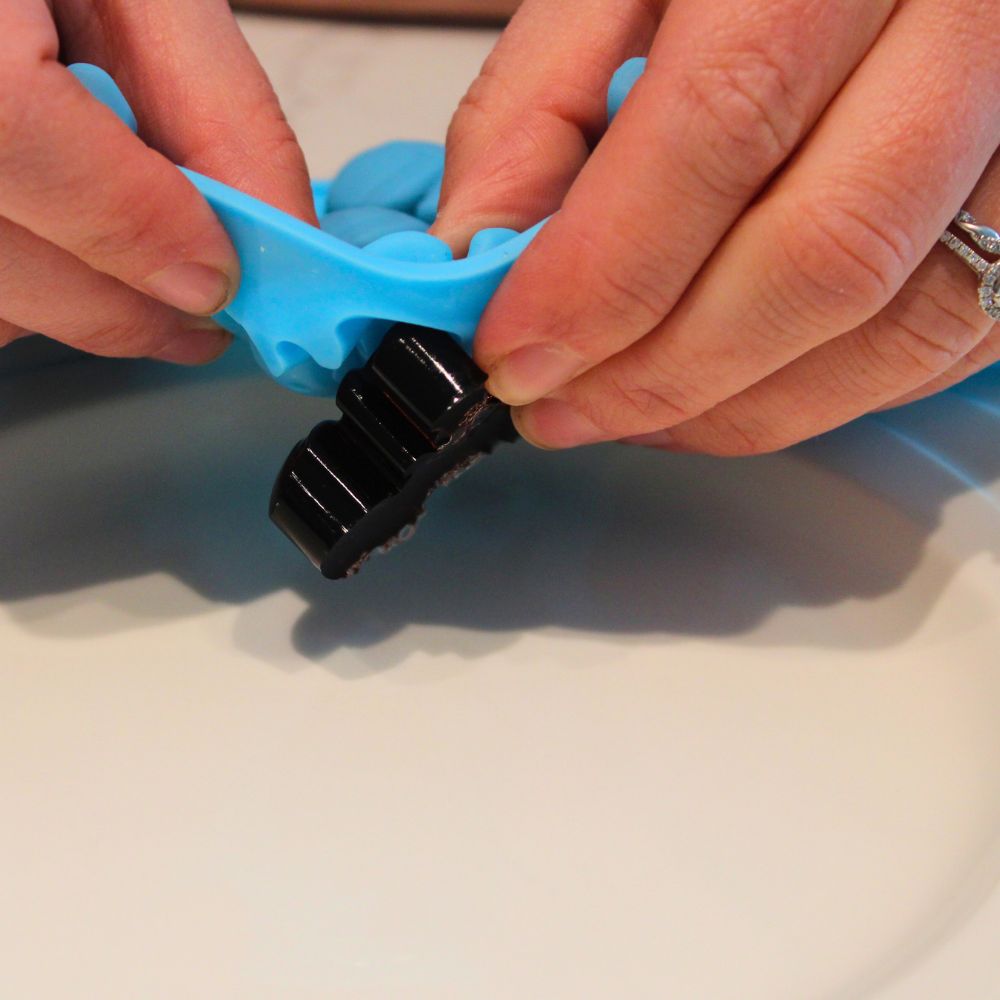
Step 4: Place the molds or dish in the refrigerator and let the gummies chill for at least 2-3 hours, or until they are firm to the touch. If you’re in a hurry, you can place them in the freezer for about 30 minutes to speed up the process.
Once the gummies have set, carefully remove them from the molds. If you used a glass dish, cut gummies into bite-sized squares with a knife.
Enjoy your healthy homemade gummies right away or store them in an airtight container in the refrigerator for up to a week.
See recipe card below for detailed full recipe.
Hint: If using molds, I like to place mine on a baking sheet first, this way they are much easier to transfer to the refrigerator.
Substitutions
- Agave Nectar – If you do not have honey, or avoid it for dietary reasons, you can also use agave nectar. A sweetener derived from the agave plant, it dissolves easily and has a mild taste.
- Maple Syrup – A natural sweetener with a rich flavor that complements fruity gummies.
Variations
- Juice Options – Feel free to experiment with different options. Try apple, pomegranate, or grape juice, or a mixed berry blend for a different flavor profile. Or try out different flavor combinations. I like to use real fruit juice, rather than from concentrate, for a fresher and more natural flavor. This also ensures you’re getting more of the natural vitamins and antioxidants found in real fruit, which can support overall health and wellness.
- Fruit Puree – If you prefer to use real whole fruit, add two cups of fresh fruit (or thawed frozen fruit) to a high-powered blender with half a cup of filtered water, and blend on high speed until smooth.
- Sour gummies – To turn this homemade gummies recipe into sour gummies, after blooming the gelatin and heating the juice/gelatin mixture, squeeze fresh lemon juice into the pot. Start with a teaspoon of lemon juice, and adjust according to taste preference. Since sour gummies typically have less sweetness than regular gummies, you may want to reduce the amount of honey used in the recipe. Start by using only one tablespoon of honey and then adjust to desired taste.
Benefits of Grass-fed Gelatin
- Source of Protein – Grass-fed gelatin provides an excellent source of high quality protein, and specifically amino acids like glycine, and proline, which are important for collagen synthesis. Glycine is also supportive of immune function, making it a useful amino acid to incorporate into your diet for overall health and wellness.
- Supports Gut Health – Grass-fed gelatin helps to support the gut lining, benefitting individuals with leaky gut syndrome or other digestive issues. It also promotes the production of gastric juices, supporting the digestion and absorption of nutrients.
- Supports Joint Health – Grass-fed gelatin supports the collagen production required for maintaining healthy joints, bones, and connective tissues.
- Supports Skin, Hair, and Nails – By supporting the body’s natural collagen production, gelatin helps support skin elasticity, promoting a youthful complexion. It also supports strong hair and nails, making them less prone to breakage and damage.
Equipment
- Medium Saucepan
- Whisk
- Glass Dropper
- Silicone Gummy Molds or Glass Baking Dish
Storage
Store homemade gummies in an airtight container in the refrigerator for up to a week.
Top Tip!
This homemade gummies recipe is easy to switch up the flavor by swapping out blueberry juice for other fruit juices or blended fresh fruits. However, you’ll want to avoid using fresh pineapple or pineapple juice in your homemade gummy recipe! Pineapple contains bromelain, an enzyme that breaks down gelatin proteins and prevents your gummies from setting properly. Stick to other fruits to ensure your gummies turn out perfectly every time.
FAQ
I recommend using unflavored gelatin to control the sweetness and flavor of your gummies. Flavored gelatin may contain added sugars and artificial ingredients that may alter the taste and health benefits of the gummies.
For firmer gummies, increase the amount of gelatin. For softer gummies, reduce the amount of gelatin slightly. Adjusting the chilling time can also affect the firmness.
Lightly greasing the molds with a neutral oil can help prevent sticking. Silicone molds typically release gummies more easily than plastic or metal molds.
Lightly sprinkle the gelatin evenly over the surface of the juice and let it sit undisturbed for 5 minutes to bloom. This helps the gelatin absorb the liquid evenly and dissolve properly, preventing clumps.
If your gummies don’t set, it might be due to insufficient gelatin. Make sure to use the correct amount of gelatin and avoid fresh pineapple, which contains bromelain, an enzyme that breaks down gelatin. Reheat the mixture and add more gelatin if needed.
Healthy Homemade Blueberry Gummies. Only Three Ingredients!
Equipment
- Medium Saucepan
- Whisk
- Glass Dropper
- Silicone Gummy Molds, or Baking Dish
Ingredients
- 2 cups blueberry juice
- 6 tbsp unflavored gelatin powder
- 2 tbdp honey
Instructions
- Using a measuring cup, pour 2 cups of blueberry juice into a small saucepan.
- Lightly sprinkle 6 tablespoons of gelatin in an even layer over the juice. This will help prevent clumping.
- Allow the gelatin to sit undisturbed for 5 minutes. This is called bloomed gelatin. Blooming the gelation ensures that it absorbs the liquid evenly and dissolves properly, leading to smooth textured gummies.
- After 5 minutes turn the burner on and set it to medium heat, whisking constantly until gelatin is fully dissolved.
- Once the gelatin has fully dissolved, Add the 2 tablespoons of honey to the mixture and stir well. The honey adds a natural sweetness that perfectly complements the blueberry juice. Adjust the sweetness to taste if needed, but remember that the mixture will taste less sweet once it sets.
- Remove saucepan from heat and allow mixture to cool slightly for a minute or two. Using a glass dropper or turkey baster, transfer your mixture into into silicone molds or grease a glass dish with coconut oil and pour mixture into your greased dish. If using a dish, you can cut the gummies into squares once they have set.
- Place the molds or dish in the refrigerator and let the gummies chill for at least 2-3 hours, or until they are firm to the touch. If you're in a hurry, you can place them in the freezer for about 30 minutes to speed up the process.
- Once the gummies have set, carefully remove them from the molds. If you used a dish, cut them into bite-sized squares with a knife.
- Enjoy your healthy homemade gummies right away or store them in an airtight container in the refrigerator for up to a week.
Notes
- The glass dropper method is a bit tedious, but the least messy option. If I’m going for speed over precision I use a turkey baster or skip the silicone molds altogether and pour my mixture into a greased dish.
- If using molds, I like to place mine on a baking sheet first, this way they are much easier to transfer to the fridge.
- Important: Do not use fresh pineapple or pineapple juice in this recipe. Pineapple contains bromelain, an enzyme that breaks down the protein in gelatin, preventing the gummies from setting properly.


Kids love em
Cute!
Thank you Darcy 🙂 If you decide to make them, I’d love to hear how they turn out!😊